I'm back and doing some covid inspired painting. My first orks in 25 years.


jonsminiblog@gmail.com

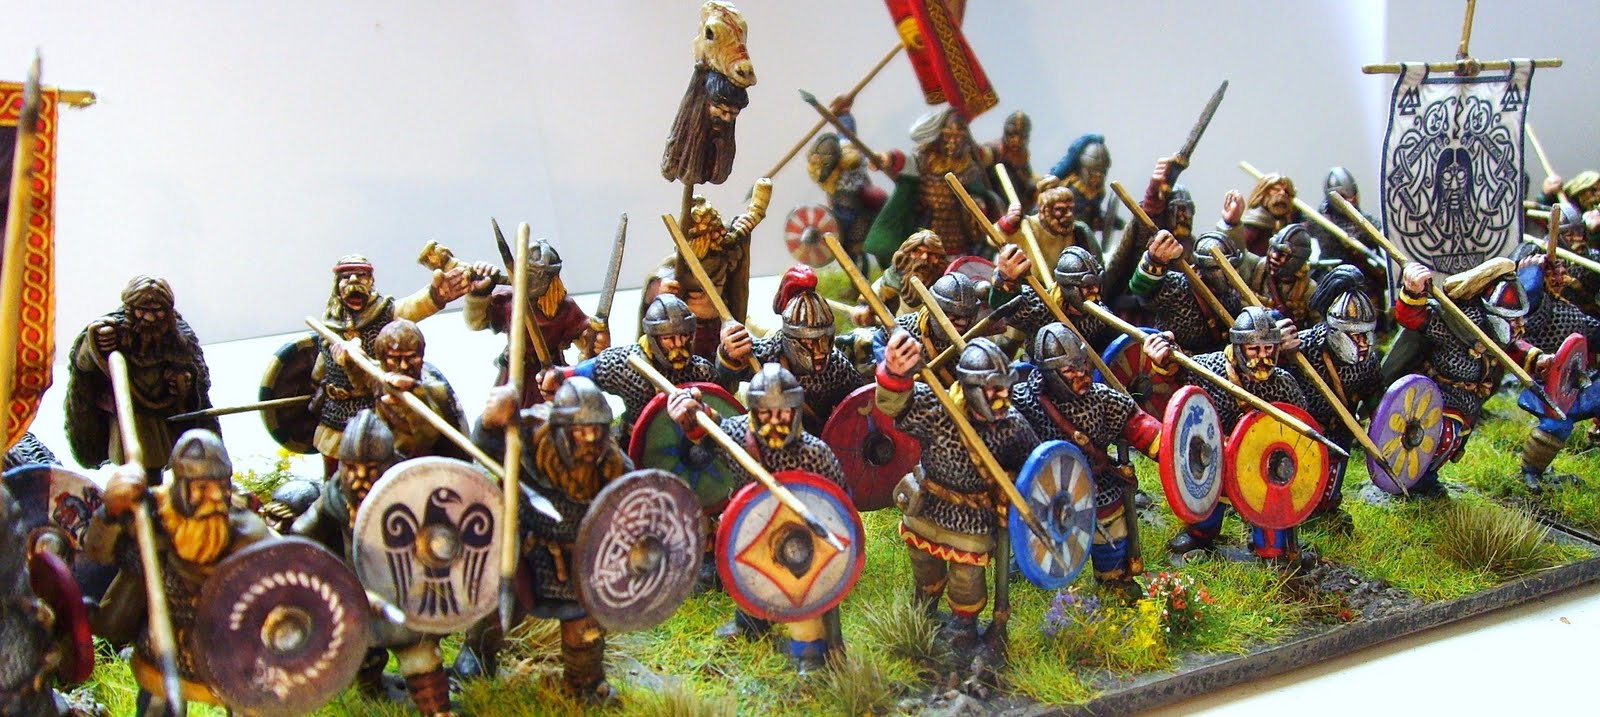
| Goths | |
| no | Name |
| 1 | Commander avg (2) |
| 1 | Poor cmd structure (10) |
| 4 | CP Nobles |
| 4 | FP Warriors (large) |
| 4 | S Javlinmen |
| 2 | CL Huns |
| 3 | re-rolls |
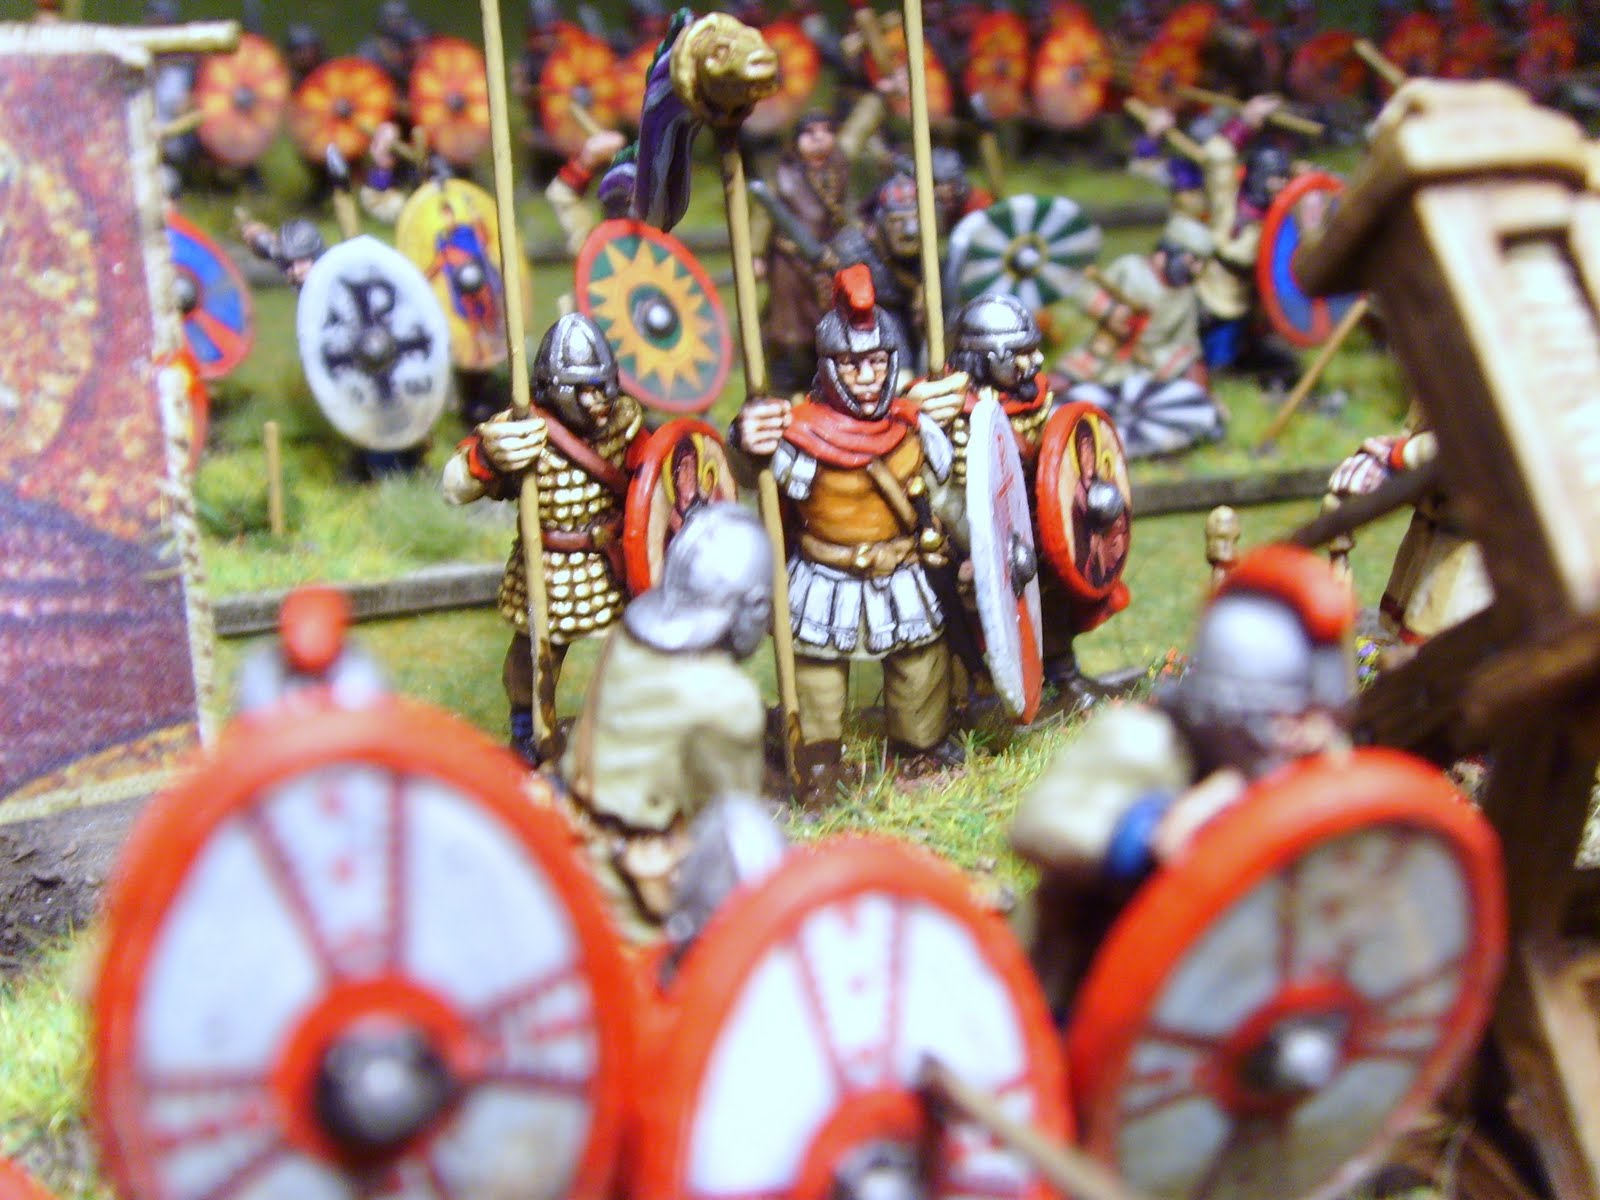
Late Romans (eastern) 285-378 | |
| 1 | Commander avg (2) |
| 1 | Avg cmd structure (30) |
| 2 | CP Cataphractii |
| 1 | CL Maurii |
| 4 | FP Comitantenses |
| 4 | +Sagitarrii supports |
| 4 | FL psuedocomitantenses |
| 1 | re-rolls |


